Add fixtures
The first step in order to control lights, is to add these lights to Glight and configure these. All controllable devices, such as lights, are called fixtures in Glight. From the show window, open the Window menu and select Fixture list.
Note
Fixtures can also be added from the visualization window, discussed later.
A new window appears:
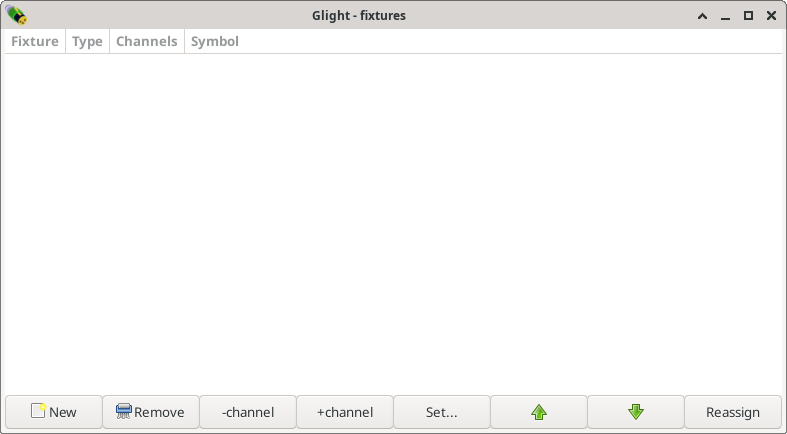
Press the New button to open another window:
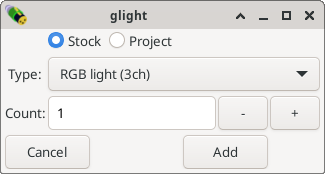
In the drop down menu, select the appropriate light. Many lights have different DMX modes, so some light types are shown multiple times but with different number of channels. To make controlling the colours with Glight easy, it is recommended that a DMX mode is used that has one channel per colour (RGB) and no master channel.
Note
Unlike most other DMX software, Glight does not try to list all possible brands and types, but makes you select one of the functional categories of the light, such as RGB, RGBA, RGBW, RGBAW+UV etc. If you cannot find an appropriate description for your fixtures, you may define a new fixture type.
Select a basic RGB light (3ch) light, change Count to 8 and press Add.
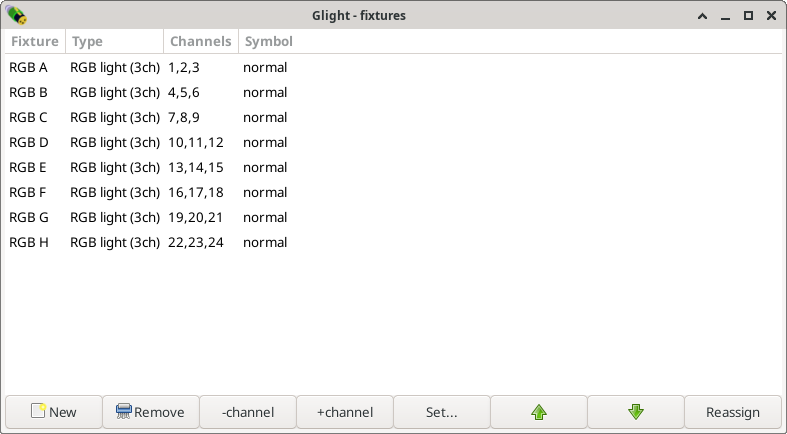
As shown, Glight has added 8 RGB lights with names A, B, …, H and with consecutive DMX channels. If the channels are not correct, the DMX channels can be changed by selecting a RGB light and by:
pressing the + or - buttons to increase or decrease the DMX channel by one channel at a time;
or by pressing the Set… button to type in the start DMX channel of the fixture.
When done, close the fixture list window.
Be aware that the order of the fixtures is relevant when creating chases. It is easiest when fixtures are ordered such that the ordering has a physical meaning as well, e.g. the first fixtures is the left-most fixture, the next fixture is the one next to it, etc.
Next chapter: Setting fixture positions