Assigning faders
Now that the lights are configured, let’s start with the most basic controlling of the lights: setting their individual colours. For this, the fader window is used. By default, the fader window has 10 faders. However, with 8 RGB channels, we have 24 colours to control. 24 faders are quite a lot to show at once, so I will show how to create 2 fader frames each with 12 faders.
First we need to add 2 faders to this frame. Press the Menu button on the top-left of the fader window, and select Add fader. Repeat this once more to end up with 12 faders.
Faders can be assigned in several ways. The simplest way to assign a fader is by pressing <..> below the fader. This opens an object list showing your lights A..H. Select one, then select which Input to assign the fader to (R, G or B), and press Select to assign the individual fader.
This would be rather repetitive to repeat 24 times. From the fader menu, it is also possible to select the option Assign, which assigns all the faders within this frame one by one to all (unassigned) inputs. After this, the fader window looks like this:
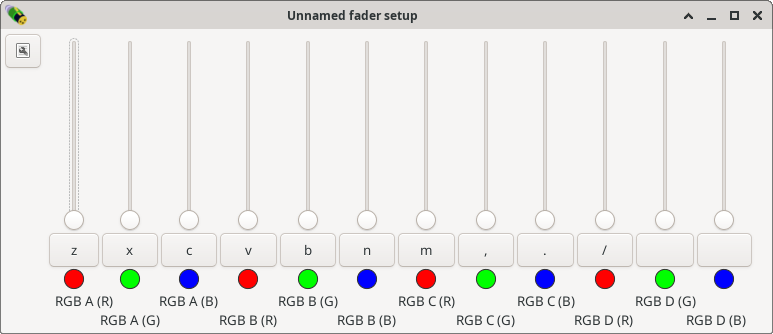
Note the text under the faders, saying (for example) “RGB A (R)”. This refers to fixture RGB A, channel R.
Next chapter: Controlling lights